With MacOS
Step 1
Download Video Caption Maker for free on the Mac App Store. Installing should take seconds.

Step 2
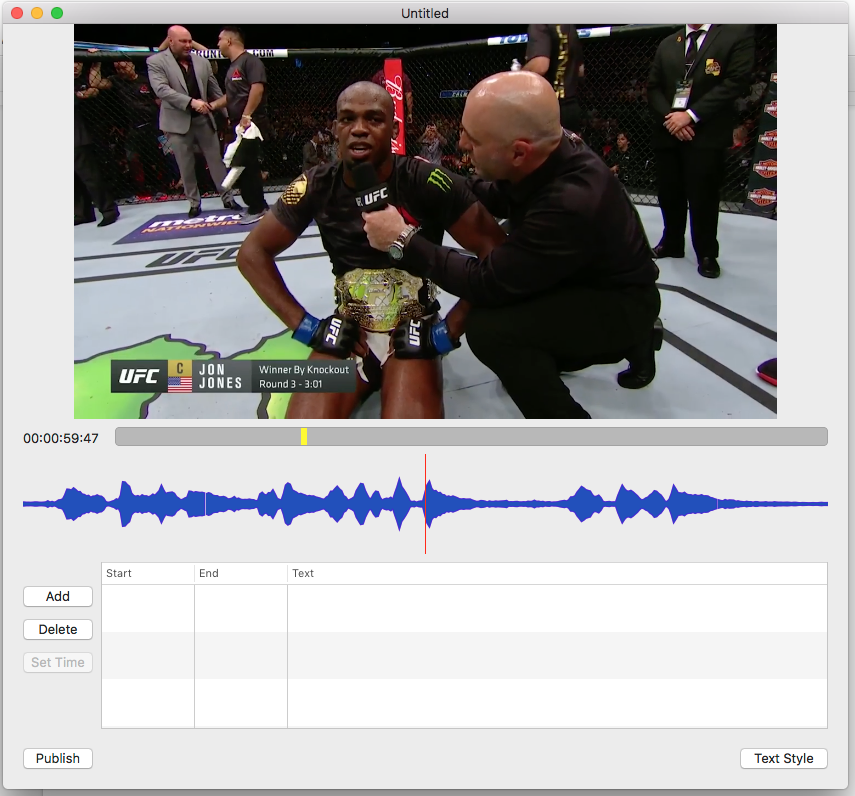
Create a new project and import your video file. You should be able to play your video by clicking on it, as well a scroll through the timeline and audio waveform.
Step 3
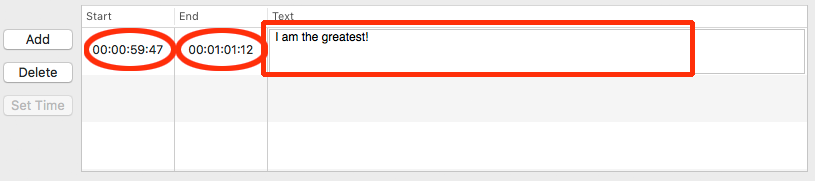
Click ‘Add’ to insert a new caption. You can set the appropriate start and end times by clicking the ‘Set Time’ button which will use the video’s current time. This can be adjusted by dragging left or right on the text field, or by manually entering a desired time.
Step 4
You should now see your new caption in the video provided that your video is playing between the start and end time of the caption.

Step 5
You can also customize your font, style, size, position, and backdrop properties with the ‘Text Style’ button. This currently is applied to all captions in the video.

Step 6
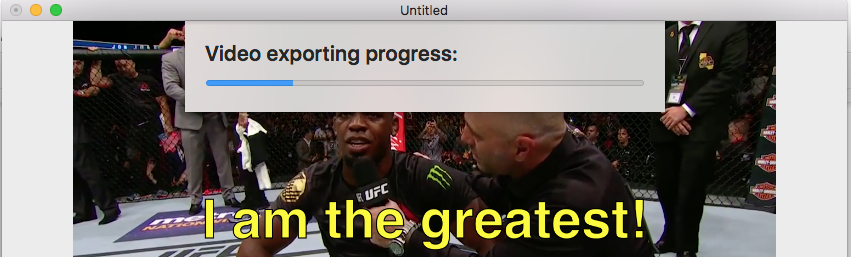
Use the ‘Publish’ or ‘File > Publish Video’ menu to export your new video as an mp4 video file. Once that completes your video is ready for sharing!
That's it!
You're done! Adding captions and subtitles to video is super easy. Video Caption Maker is free to download and use. For the free version, the video you export will have a watermark. You can upgrade to the full version to remove it.
Alternatively...
If you already have an expensive video editing software, you might be able to add text with it. It will probably take more time and be more complicated to use.